How to Boil Clean a Glass Pipe
July 21, 2025
Your glass pipe is starting to look… not so pretty? Don’t worry—we’ve all been there. Resin build-up, that stubborn gunk, and the stench that just won’t quit. Good news: boiling your glass pipe is still one of the most budget-friendly, reliable ways to get it back to sparkle. Ready to bring your pipe back to life? Let’s dive in.
Why Cleaning Your Glass Pipe Matters
Health Risks of Dirty Pipes
Every time you light up a dirty pipe, you’re not just inhaling your product—you’re also inhaling charred resin, bacteria, and toxins built up over time. That’s not the vibe you want. Your lungs deserve better.
It Just Hits Better When It’s Clean
There’s nothing like a fresh hit through a clean piece. The flavor’s sharper. The experience? Way smoother. Think of it like drinking craft beer from a crystal glass versus a crusty solo cup. Big difference.
Boiling Method: The Old-School Way That Works
Is Boiling Glass Pipes Safe?
Yes, if done right. The key is gentle heat and patience. Glass can crack with sudden temperature changes, so the process is all about easing into it. Boiling works well on thick glass pipes—but if your piece has hairline cracks or is ultra-thin, consider another method (we’ll get to those later).
What You’ll Need Before You Start
Let’s not wing it. Grab what you need first.
Tools and Ingredients Checklist
- A sturdy pot (not your roommate’s pasta pot)
- Tongs or silicone gloves
- Tap water (filtered if you’re feeling fancy)
- Pipe cleaners or Q-tips
- A towel or drying rack
- Optional: baking soda or lemon juice for bonus cleaning power
Step-by-Step Guide: How to Boil Clean Your Glass Pipe
Step 1: Pre-Rinse That Pipe
Before your pipe gets anywhere near the pot, give it a good rinse under warm water. This helps loosen up loose ash, bits of herb, and soft resin so you’re not boiling a bunch of floating junk with your piece. It also helps the glass gradually warm up, reducing the risk of cracking.
Don’t rush into using hot water if your pipe’s cold—think about how a glass cup cracks in the dishwasher. Warm-to-warm is your friend here. If there are any removable screens, stash those separately—they’ll need a different cleaning method.
Pro Tip: Tap the bowl gently upside-down after rinsing to knock out any lingering chunks.
Step 2: Set Up Your Boiling Station
Pick a pot that’s deep enough to fully submerge your pipe and wide enough that it won’t bang into the sides when water bubbles. Don’t grab your non-stick cookware—resin and non-stick coating are a bad combo. Stainless steel is perfect.
Fill the pot with room temperature water and place the pipe inside before you turn on the stove. This step is crucial. Putting a cold glass piece into boiling water is like jumping into a volcano—expect cracks, breaks, and tears (yours). Starting cold allows the glass to slowly adapt as the water heats up.
Optional Add-In: A tablespoon of lemon juice or a sprinkle of baking soda can help break down resin during the boil and deodorize your piece.
Step 3: Simmer, Don’t Slam-Boil
Once your pipe is submerged, crank the heat to medium and keep a close eye on the water. You’re not making pasta here—you want a gentle simmer, not a rolling, angry boil. If bubbles are crashing around, turn it down.
Let the simmering happen for 20 to 30 minutes. This low, steady heat will help soften built-up resin and kill off anything gross you don’t want to inhale later. You might even see some gunk floating up to the surface. That’s the sweet spot.
Heads-up: Don’t leave it unattended. Boiling water and glass need supervision like a toddler with a paint set.
Step 4: Cool-Down the Right Way
Here’s where patience pays off. Once your timer’s up, turn off the heat and leave the pipe in the water. Don’t be tempted to fish it out right away—even if it looks clean.
Letting the glass cool down slowly in the water prevents temperature shock, which can cause microscopic cracks or full-on breakage. Give it at least 15 minutes or until the water is just slightly warm to the touch.
Quick Tip: If you’re in a rush, you can transfer the whole pot to a cool surface like a trivet. Still, no cold water or fridge tricks—slow and steady wins here.
Step 5: Scrub Away the Gunk
Once it’s cooled enough to handle (or use tongs), remove your pipe and inspect it. There’ll probably still be some sticky spots inside the bowl or stem. That’s where your cleaning tools come in.
Grab a pipe cleaner, Q-tip, or soft brush and scrub gently—especially in those hard-to-reach spots. If resin is still stubborn, dip your tool in baking soda paste (baking soda + a little water) or even a bit of isopropyl alcohol for extra power.
Watch for Delicate Parts: If your piece has decorative elements, avoid scrubbing those too hard.
Step 6: Dry and Inspect
Lay your pipe on a clean towel or drying rack and let it air-dry completely. Water droplets can make it slippery (not ideal when handling glass), so give it time.
Once dry, hold it up to the light. Check for:
- Leftover resin in corners
- Hairline cracks you may have missed
- Strange smells that could mean more deep cleaning is needed
If it’s not 100% clean, no shame in repeating the process or hitting it with a backup method like the alcohol + salt shake.
Final Note: Make this part of your smoke session ritual. Clean pipe, clean hit, clean conscience.
Common Mistakes to Avoid When Boiling Pipes
Cracking from Temperature Shock
Glass hates rapid temperature changes. Never toss a cold pipe into hot water—or rinse a hot pipe with cold water. Always aim for gradual temperature shifts.
Using the Wrong Pot (Yes, Really)
Don’t use thin, non-stick pans that could scratch or warp. A thick-bottomed stainless-steel pot is ideal.
Alternatives to Boiling: Other Cleaning Methods
Alcohol and Salt Shake Method
This one’s classic: Put your pipe in a baggie, add isopropyl alcohol and coarse salt, then shake like you’re mixing a cocktail. Great for quick cleans—but messier and smellier.
Pipe Cleaning Solutions (Pros and Cons)
Commercial cleaners like Formula 420 or Orange Chronic work fast but may contain harsh chemicals. Always rinse thoroughly after.
Ultrasonic Cleaners – Worth It?
These little machines use vibrations to clean your pipe without scrubbing. They’re gentle and effective—but cost more than a pot and water.
Pro Tips from Smoke Dreamzzz Smoke Shop Tulsa Vape Shop
At Smoke Dreamzzz Smoke Shop Tulsa Vape Shop, we’re always helping customers keep their glass in prime condition. Our pro tips:
- Replace your pipe if it shows signs of internal cracks—it’s not worth risking it breaking mid-hit.
- Prevention is key. Use screens or filters to reduce buildup.
- Stock up on cleaning tools. We carry pipe cleaners, natural solutions, and ultrasonic gear in-store.
Stop by and ask our crew anything—we’re here to help Tulsa stay clean, safe, and sesh-ready.
How Often Should You Clean Your Glass Pipe?
Daily Smokers vs. Casual Puffers
If you’re a daily toker, aim to deep clean once a week and do quick rinses every couple of days. Casual users? Every 5–10 sessions should be good. But if it smells like a campfire, it’s definitely time.
Smoke Dreamzzz Smoke Shop Tulsa Vape Shop Serving the McClure Park Community and Beyond in Tulsa
Smoke Dreamzzz Smoke Shop Tulsa Vape Shop is dedicated to serving the diverse needs of the local community of Tulsa, including individuals residing in neighborhoods like McClure Park. With its convenient location near landmarks such as the McClure Park and major intersections like E 7th St. & S 73rd E Ave. (coordinates: 36.151289379119206, -95.8916196160025), we offer glass pipes Tulsa services.
Get Glass Pipes Tulsa Services at McClure Park Now
Navigate from McClure Park to Smoke Dreamzzz Smoke Shop Tulsa Vape Shop Now
Respect the Ritual
Cleaning your glass pipe doesn’t have to be a chore—it can be part of the ritual. Boiling is a tried-and-true method that’s stood the test of time for a reason. Just take it slow, do it right, and show your piece the love it deserves.
And hey, if all else fails or you just want something shiny and new, hit up Smoke Dreamzzz Smoke Shop Tulsa Vape Shop. We’ve got fresh glass ready to go.
FAQs
Q1: Can I boil my pipe if it has color-changing glass?
Yes, just avoid scrubbing off the finish. Boiling won’t ruin the color shift, but aggressive cleaning might.
Q2: How do I know if my pipe is heat-resistant enough?
Most glass pipes sold at reputable shops like Smoke Dreamzzz are borosilicate glass—aka boil-safe. Still, check for cracks first.
Q3: Can I use vinegar instead of baking soda or lemon juice?
You can, but vinegar has a strong smell and may leave a residue unless rinsed thoroughly.
Q4: Is boiling better than using alcohol and salt?
It depends! Boiling is great for a deep clean, but alcohol and salt are faster for quick touch-ups.
Q5: What’s the biggest mistake people make when boiling?
Putting a cold pipe into boiling water. Always start with both the pipe and water at room temperature.

SMOKE DREAMZZZ
SMOKE & VAPE SHOP
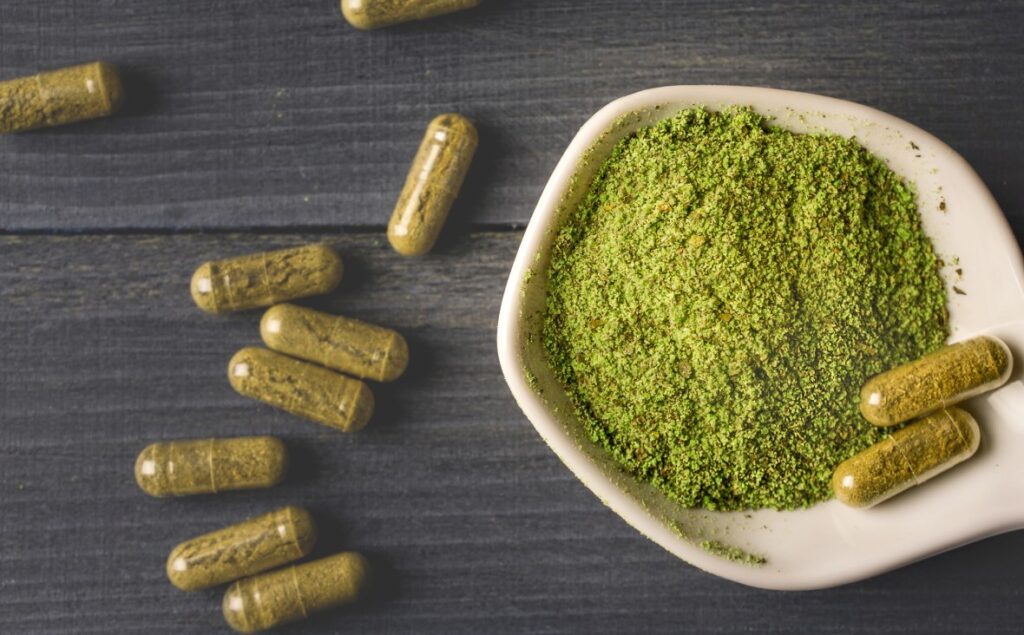
How Do Kratom Strains Differ By Color
Kratom isn’t just one thing, it’s more like a spectrum. Walk into a smoke shop in Tulsa and you’ll see bags labeled red, green, white, gold, or yellow. At first glance, it might feel like branding overload. In reality, kratom strain colors reflect real differences in how the leaves are grown, harvested, and processed. Those…What Tobacco Cuts Are Most Popular
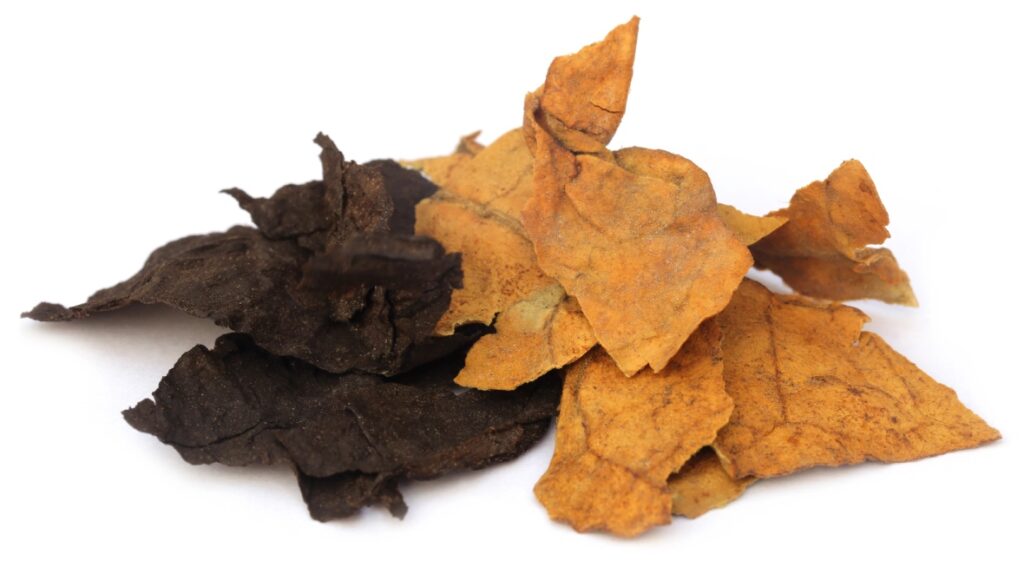
Tobacco isn’t just about flavor, it’s about the experience, and a big part of that experience depends on how the tobacco is cut. You might not notice at first, but the cut influences how the tobacco burns, the richness of the flavor, and even how easy it is to handle. If you’ve ever walked into…How Do Fat Buddha Glass Pipe Enhance Flavor
Flavor is the whole point, right? You can have top-shelf flower, the perfect grind, and ideal lighting technique, but if your pipe dulls the taste, the experience falls flat. That’s exactly why Fat Buddha glass pipes have earned such a loyal following. They don’t mask flavor, mute terpenes, or introduce odd aftertastes. They let the…

JOIN OUR REWARDS PROGRAM
Before delving into our shop’s offerings, be sure to become a part of our 5-star reward program. Our esteemed customers and loyal clientele not only admire our products and recent improvements but what truly excites them and encourages their return is our outstanding loyalty system.
Join the Smoke Dreamzzz Rewards Program today to stay updated on new arrivals and exclusive discount offers.